


The new Dragonflight Season 2 raid has just come out, and there are plenty of bosses to worry about. The closing fights aren’t as hard as what the Vault had to offer, but it’s still tough. The earlier bosses are very manageable. This guide is essentially a rundown on everyone besides the last two encounters.
You can’t really catch up on final bosses in a brief memo, but you can with simpler fights. It contains the most basic and valuable information, including the main attacks and some tips. With any luck, you’ll be prepared enough, at least on Normal and Heroic.
Kazzara the Hellforged
The starting fight features a lot of raid-wide attacks. Her armor will explode at 80%, 60%, and 40% HP, dealing damage to everyone. Moreover, many of her spells lock on to random players and spawn lingering puddles. If chosen as a target, you should simply kite a spell away from other people. With enough dodging and healing, it’s a cakewalk.
The Amalgamation Chamber
This stage initially contains two smaller bosses, which fuse into a bigger enemy halfway through. The main part is to split the raid in two during the first phase because each enemy applies debuffs. You don’t want to collect both. The second phase has plenty of AoE attacks, but nothing too difficult.
The Forgotten Experiments
To one-up the previous fight, this encounter features three bosses. These will spawn one after the other, and they are pretty similar. Each has a limited number of unique attacks, but the general flavor doesn’t change. All three apply debuffs while attacking, meaning you’ll have to swap tanks constantly.
Once more, area attacks are a big deal. You can see them from a mile away, but be ready to dodge constantly. The main tip is to not group together. When they don’t cast AoE abilities, they’ll dash around the area dealing bleed or fire damage. Otherwise, the moves are pretty predictable.
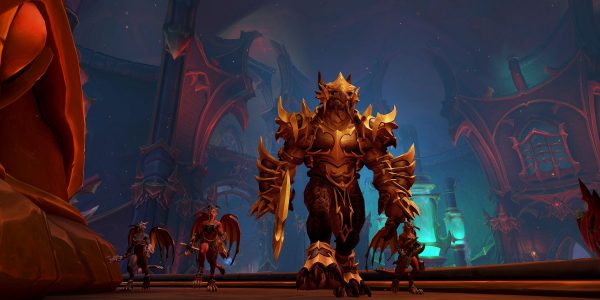
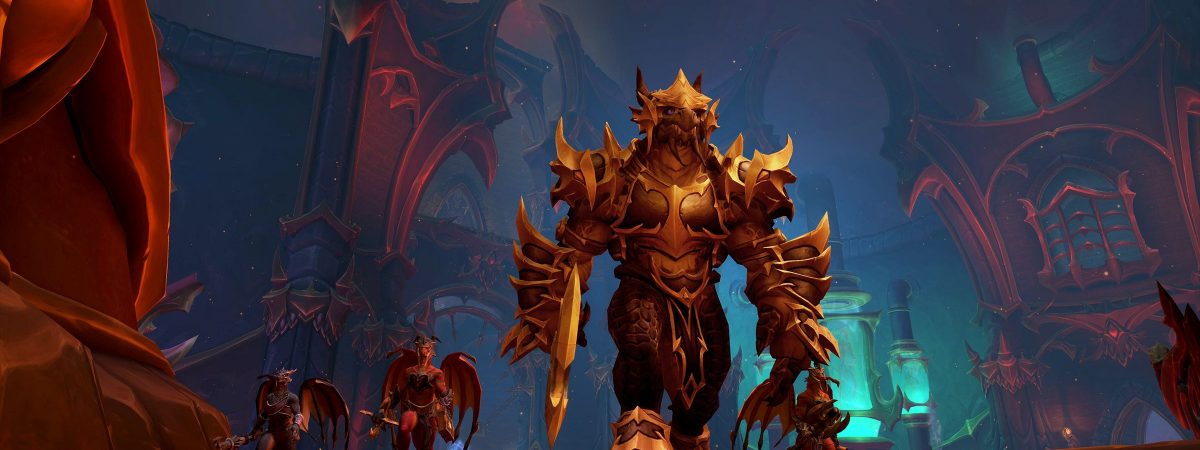
Assault of the Zaqali
This fight mainly takes place on two different platforms. The boss, Kagni, will occasionally jump from one to another.
He’s not hard, the AoE Heavy Cudgel (and later Flaming Cudgel) attacks are the most prominent. While he’ll change platforms throughout the fight, adds will ceaselessly spawn on each of them. They aren’t difficult, but if they reach the entrance, it’s game over. Likewise, if Kagni will breach the door in a later phase, it’s instant death.
Rashok the Elder
Prepare for an unending stream of raid-wide damage. Rashok possesses several abilities that inflict damage on the entire party, and it’s also inflicted during some stages of the fight.
He gets energy naturally, and extra points if you aren’t careful. Upon reaching 100%, he’ll wipe the raid. So, make sure to drain him by luring him into the center. While he cools down, massive raid damage will be inflicted. You can only do it 3 times, and doing them too often will be 500% more painful. So do take it slow.
The Vigilant Steward Zskarn
Zskarn’s main shtick is traps and bombs. There are also lots of AoE abilities, as usual, but this fight is one of the most straightforward.
Throughout the fight, Zskarn will activate incendiary traps around the room. These work for a long time, dealing lots of damage to anyone nearby. He’ll also occasionally throw bombs, which will harm the entire raid unless popped. The rest of his abilities are pretty manageable.
Magmorax
The Magmorax fight is a timed encounter, basically. If you don’t defeat him before his energy is capped, the entire party is doomed.
It grows over time but can be further increased. One way is to let him step into one of the magma puddles he constantly creates. They can be soaked pretty fast, though. Also, note that there’s a lot of raid-wide damage here. Lastly, never stand near the edge. Instead, try to keep the boss there. He has a way of throwing people off the platform.
Summary
This should help you with most of the bosses on Aberrus. The last two are hard, as usual, and you need extra preparation for them. However, if you want to avoid extra suffering, you’re advised to get the Aberrus the Shadowed Crucible boost. This way, you can get the best loot very quickly and painlessly.