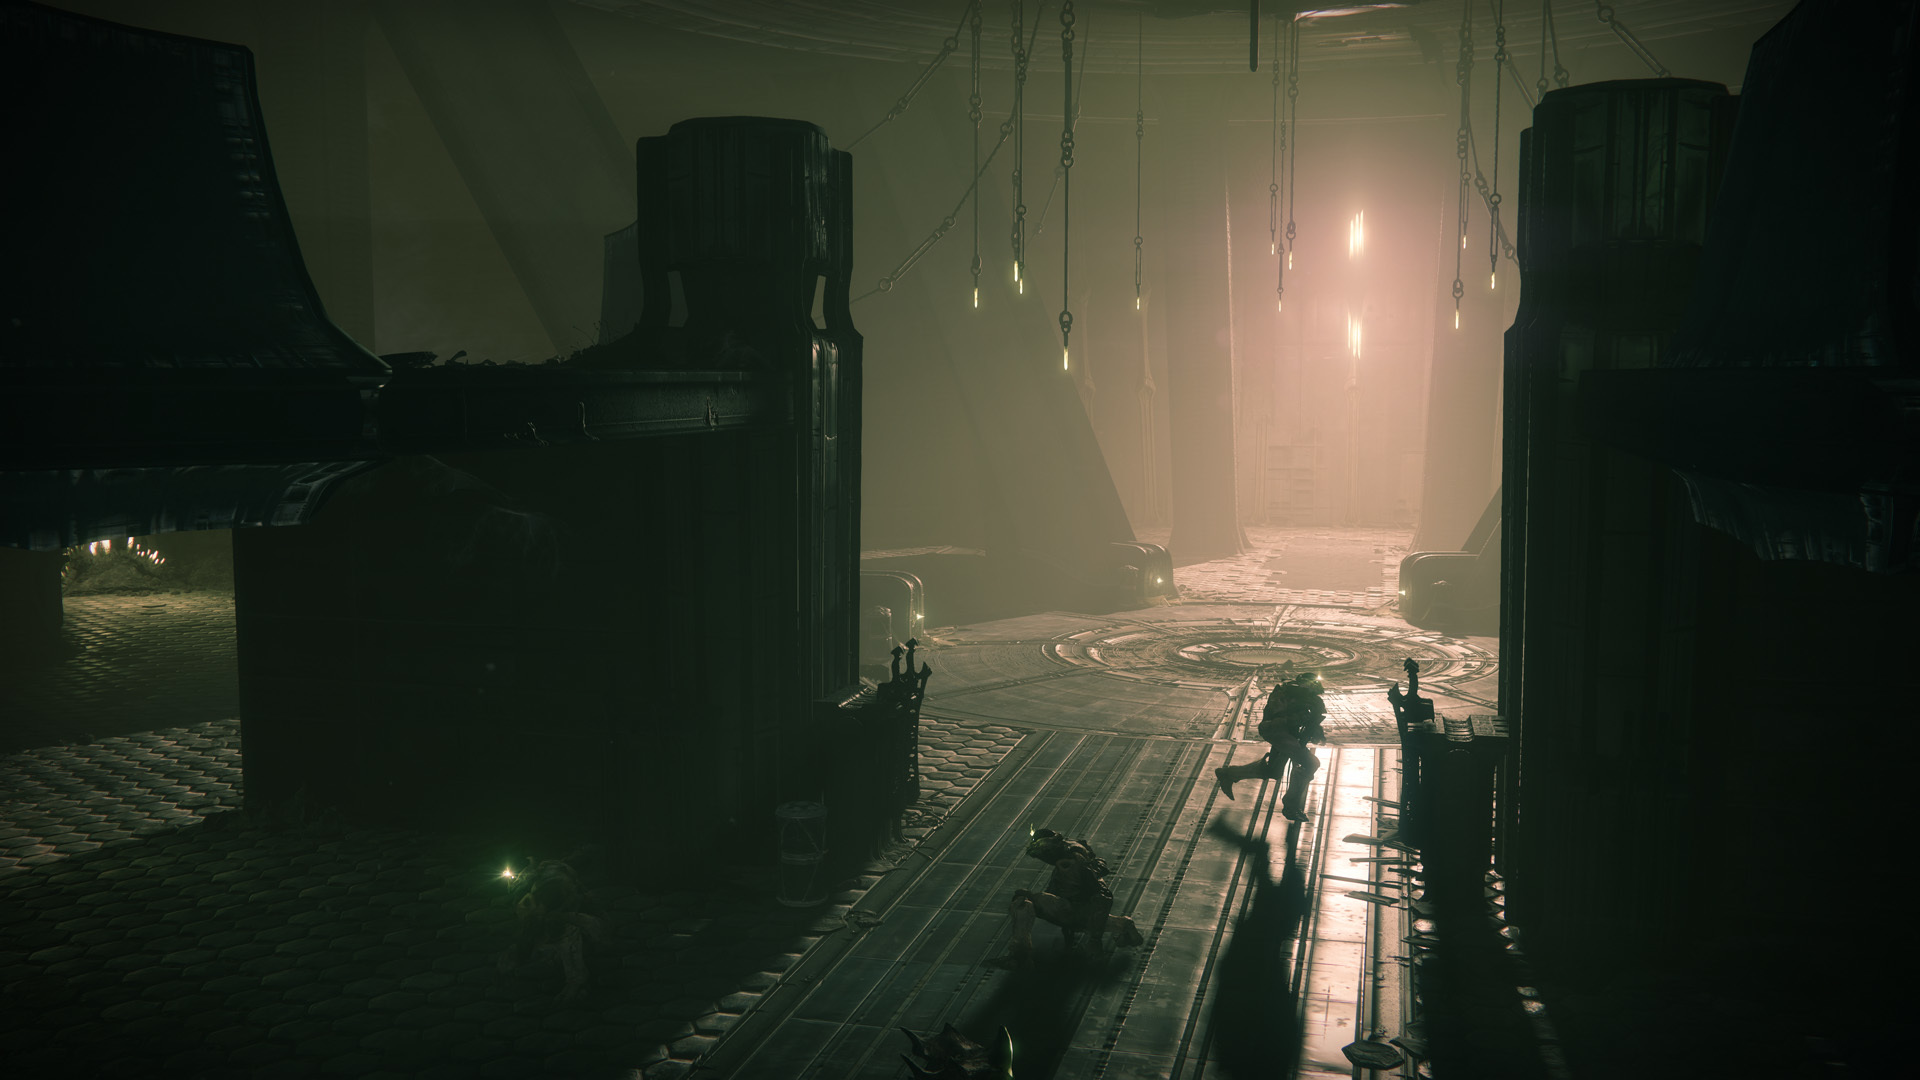
In many regards, Destiny 2’s new Menagerie activity functions as a sort of ‘raid-lite’ experience. The six-player matchmade activity involves completing a series of encounters to trigger a final boss fight at the end. Each encounter has its own unique mechanics, and much like in an actual raid, those mechanics aren’t made explicit. If you’re having trouble figuring out the Menagerie encounter mechanics, we’re here to help.
Destiny 2 Menagerie Encounter Mechanics

There’s really no way to “fail” a Menagerie encounter, you’ll finish it whether you complete its goals or not. However, completing each encounter’s goals takes you closer and closer to the final boss. If you want your Menagerie run to be as quick and seamless as possible, it pays to be goal-oriented.
Menagerie encounters are cycled through at random, so you might not see every encounter in a single run. However, being familiar with every encounter is important if you plan on running the Menagerie on a frequent basis.
The Lamplighting
Every Destiny 2 Menagerie run is guaranteed to begin with the Lamplighting encounter, and they encounter itself is pretty straightforward. Enemies will spawn in waves, and each wave is led by a slightly larger mini-boss enemy. Kill the mini-boss and it will drop a spark that players can pick up. A player needs to bring the spark to one of the six large blue torch lamps encircling the room. The player’s visual HUD will indicate which lamp they need to deliver the spark to.
Once all six lamps are lit with a spark, the encounter is completed. If each individual player on the team lights a lamp, you’ll also unlock a bonus Triumph.
The Crystals
You’ll notice large purple crystals adorning the walls on each level of the multi-level room. These crystals are immune to damage from standard weapons, which is why you need to focus on the Vex Harpies. Every Harpy that dies will drop a special relic weapon that’s capable of damaging the crystals.
After each group of crystals is destroyed, an Ultra (orange health bar) enemy will spawn down at the bottom level. Killing the Ultra causes the next group of crystals to spawn. If you destroy all crystal groups before the timer runs out, you’ll unlock a bonus Triumph.
The Hunted
You’ll notice four large floor plates at the four corners of the room and at the center of the room. Two long hallways also connect the four corner plates. When you start the encounter, the room will flood with Hive. You have to stand and remain on certain plates to activate them and advance the encounter. Several massive Hive Knights will also spawn and attempt to knock you off the plates.
The Hive Knights can be killed with sustained damage, ideally before they reach the plates themselves. If you activate all the plates before the timer runs out, you’ll win the encounter.
The Riposte
This encounter can be a bit of a pain if you don’t already know what to do. Once the encounter starts, look for a Hive Knight holding a sword and shield. Kill the Knight and he’ll drop his sword which players can then pick up. Large enemies with circular energy barriers will occasionally spawn as well. The Hive Knight Swords are the only weapons that can damage and disable these energy barriers.
You’ll have to work through a series of progressively harder energy barrier enemies. Make sure to keep killing the Hive Knights as well so more swords are available. If you defeat all energy barrier enemies before the timer expires, you’ll win the encounter.
The Arcborn
This encounter is pretty straightforward as long as you know what to do. Basically, you just have to run through the translucent light pillars that spawn to receive a charge. Then, you have a limited time to “deposit” your charge at one of the three energy depots in the room. If you’re feeling bold, you can pick up and deposit up to three charges at once. However, if your charge timer reaches zero, you’ll instantly die.
Once all three depots are fully charged, a boss will spawn. Kill the boss before the timer expires to complete the encounter.
The Gauntlet
Start by killing any enemies that spawn in the large central room. Eventually, an Ultra enemy will appear. When you kill the Ultra, your entire team will be teleported to a timed running gauntlet. You must navigate a series of platforms and make it through round glowing checkpoints before the time expires.
After navigating the first gauntlet, you’ll have to kill another Ultra enemy to trigger a second gauntlet. This second gauntlet has flame vents that can one-shot you as well as trickier platforming segments. After this second gauntlet, you have to repeat the Ultra-gauntlet process one last time to finish the encounter. If all six players on your team complete a single gauntlet run, you’ll unlock a Triumph. If all six players complete *all three* runs, you’ll get a second Triumph.
The Mockery
When the encounter begins, three haven pillars will spawn around the room. Standing in the bubbles these haven pillars create prevents you from taking environmental damage. The goal is to leave the sanctuary of the pillars to kill the Hive Witches that spawn. Each Witch you kill drops a Spark of Light. Bring the Sparks back to the pillars to progress the encounter.
Note that the pillars eventually become vulnerable to enemy damage, so be sure to protect them as you’re able. Also, the pillars occasionally “lock,” forcing you to defeat boss enemies to unlock them. You can unlock two bonus Triumphs in this encounter. The first is gained for finishing with time left on the clock. The second is earned by ensuring no haven pillars are destroyed.


