


In order to upgrade the settlement of Prosperity in Far Cry New Dawn, you need to do two things; find Ethanol, and recruit Settlers. The latter are a group of specialists who are scattered around Hope County, and you need their help to rebuild your home base. The first of these Settlers which you’re likely to come across is Bean, and his scouts are your best source for locating the rest. Selene is another Settler who isn’t far from Hope County. If you’ve played Far Cry 5, recruiting Selene will take you to an all-too-familiar location.
Far Cry New Dawn Settlers: How to Find Selene
Once you learn about Settlers from Kim Rye, you may find that a marker for Selene appears on the map. You can also hear about her from one of the Wiki-Bean-ia scouts. Selene can be found due north of Prosperity, high up in the hills. She is standing over the access shaft of John Seed’s bunker, one of several huge bunkers which appeared in Far Cry 5. The place seems to have been abandoned, and the main entrance building has been partially swallowed by sand. However, the access shaft is still open, and it appears that Selene has dropped her field kit into it.
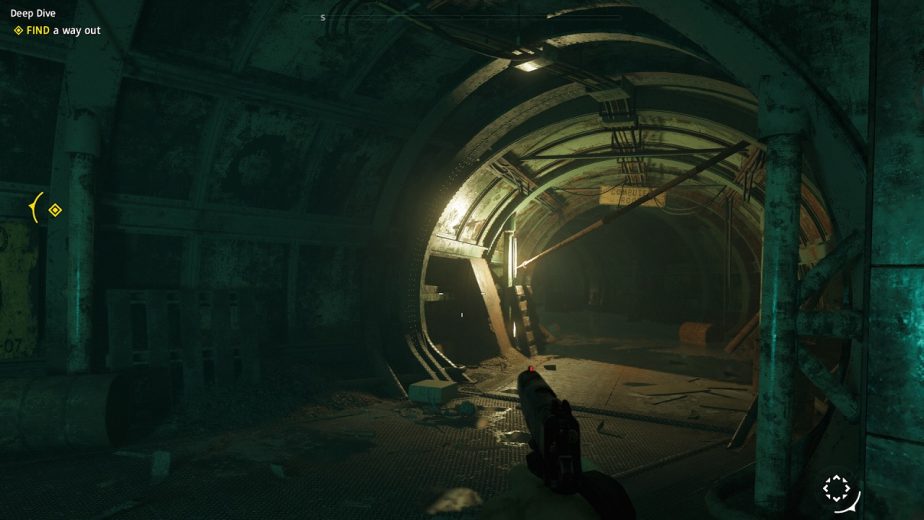
Speak with Selene, who will explain why she needs the field kit back and ask you to retrieve it. Make your way carefully out over the hole on a metal beam and then jump down to where the field kit is. Of course, it isn’t going to be that easy. Unsurprisingly, the platform breaks and you go plummeting down into the shaft. Luckily, the hole is filled with water, so you don’t die from the fall. You are, however, now stuck in John Seed’s old bunker, and will need to find your way out.
Raising the Water Level to Escape John Seed’s Bunker
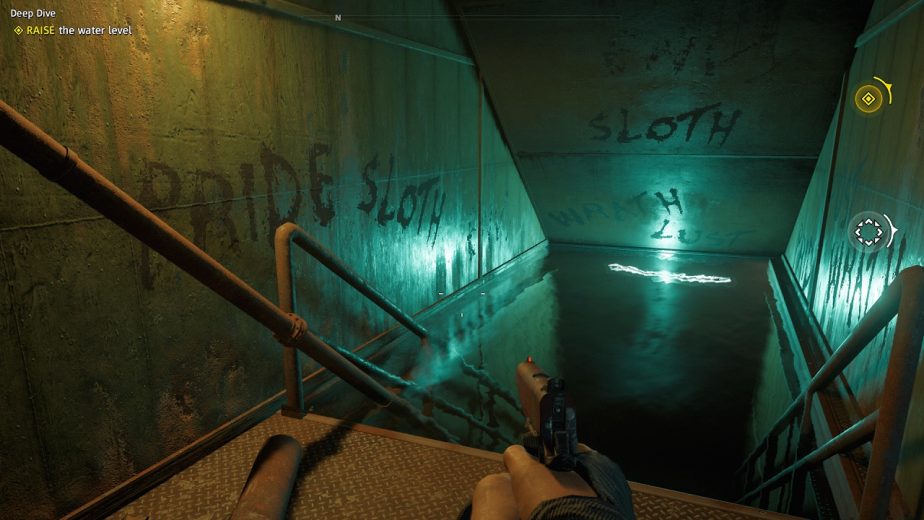
Climb out of the pool and make your way inside the bunker. If you played Far Cry 5, you may well remember some of the rooms and tunnels which you pass through, although seventeen years seems to have done its share of damage to the site. Follow the path until you find a wheel which you can turn to start flooding that level of the bunker. Run and then swim back out into the shaft and wait until the water stops rising again. Beware, as some of the swimming sections are quite long, so swim as fast as you can to avoid drowning. You’ll need to flood several more areas of the bunker, most of which are a fairly straightforward route. However, you will find a variety of aggressive animals lurking in the bunker, including snakes and a much-hinted-at crocodile.
At one stage, you’ll find a large room with several pipes leading in and out of a larger yellow pipe; the only puzzle in the bunker. To overload the pressure here, you need to open all of the “in” valves, and close all of the “out” valves. The valves’ directions are labelled on each of the pipes. You’ll know when a valve is closed because water will start to spray from around the pipe. Note that some of the valves are high up and can be difficult to spot.
Once all of the levels of the bunker are flooded, return to the central shaft and let the water carry you back up to the top. Be sure to grab Selene’s field kit as you go, and then clamber back onto the surface. Once you return the kit to Selene, she’ll thank you and agree to travel to Prosperity, where she takes over the Infirmary.