


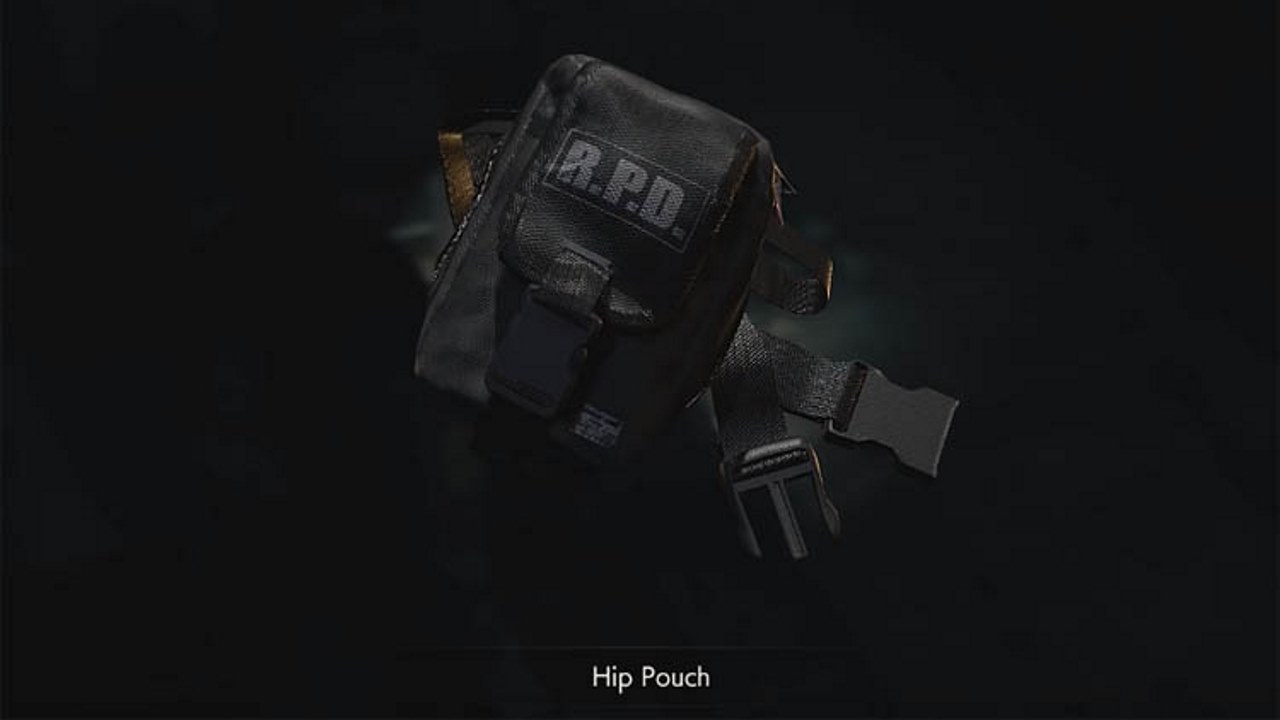
One of the most important aspects to manage during your Resident Evil 2 remake playthrough is your inventory size. You start the game with a very small inventory limit, but that limit can be expanded by finding certain items. Those items are hip pouches, and they’re found at specific points in the larger game world. In this guide, we’ll show you where to find every hip pouch so you can maximize your inventory space.
Resident Evil 2 Hip Pouch Locations
There are six hip pouches in total to find, and they’re spread pretty evenly throughout the game’s different areas. The hip pouches also don’t change locations based on the character you’re playing. Whether you prefer Leon or Claire, you’ll always find the hip pouches in the same spots. Most of the hip pouches also appear in the same spots regardless of the scenario you’re playing. The first pouch is the one exception, though its scenario B spot is pretty easy to reach.
Hip Pouch #1
The first hip pouch is found up on the RPD Station’s third floor. Inside the large west storage room is a wall you need to blow up with a C4 detonator. On a table opposite that wall is a scrawled note and the hip pouch. In the Second Run scenario, this pouch is instead found on the reception desk in the main hall.
Hip Pouch #2
This pouch is found in the RPD Station’s first floor safety deposit room (the same location as the shotgun/grenade launcher). However, you can’t access it until you find two spare keys for the central locker keypad. You need both keys because the pouch is in locker 203 and the “2” and “3” keys need replacing.
The spare keys, in turn, are found in the station’s portable safes. These small electronic safes are opened by solving a random eight-digit light puzzle on the front of the safe. One safe is found in the second floor shower room and the other in the second floor linen room. However, you can’t unlock the linen room’s door without the Diamond Key.
Hip Pouch #3
For this pouch you need to open the combination safe in the station’s first floor west office. If you don’t want to find the combination yourself, we’ve included it in our major puzzles guide.
Hip Pouch #4
You’ll find this pouch in the underground passage you access after solving the three medallions puzzle. But first, you have to tangle with a boss enemy in the underground passage’s larger room. After the fight, you’ll find the pouch in a locker next to the typewriter save point in the operator’s room.
Hip Pouch #5
This pouch is in the work room on the upper level of the sewers. You’ll first have to acquire the T-handle tool so you can open the lower waterway passage. Through the passage is a lift that takes you up to the upper level.
Hip Pouch #6
Once you reach the game’s final area, the NEST Lab, you’ll eventually find a signal modulator. Use the modulator on the north area’s power panel to restore power and open the nap room’s bed pods. The pouch is in one of the opened pods.