PES 2019: How To Get Real Teams For PS4 With Names, Kits, Logos, & Leagues


For many gamers, Pro Evolution Soccer is the right choice for their football game compared to FIFA 19. However, it lacks one thing that FIFA brings and that is some of the official licenses. Luckily, there’s a method in which gamers can address this issue and update the game, but it will only work on Sony’s PlayStation 4. That means Xbox One gamers will be out of luck, while PC users can simply download a file onto their computers.
PES 2019: How To Get real teams for PS4 version of the game
While Konami was able to get more licenses than before for the PES 2019 game, they’re still lacking. The latest game is missing UEFA Champions League, Europe League, and UEFA Super Cup, which FIFA 19 boasts exclusively.
The game features a total of 355 clubs, but only 293 of them are licensed. There are also seventeen playable leagues, but only fourteen are licensed in the game. With this method, that won’t be an issue any longer, though, but as mentioned it’s only available to perform on the PS4 version of the game.
To install the proper emblems, team names, kits, leagues, and other licensed items, you’ll need to download a special option file here. The WEHK Team created this file which adds all of the unlicesed items to PES 2019.
The file is a free Mediafire file and is safe to download. You’ll also need a USB stick to download it to so you can transfer all the extracted files over to your PS4.
PES 2019: How to Get real teams for PS4 steps
Now that we’ve covered the basics above, let’s get started with making the PES 2019 game even better. Here are all the steps necessary to download the file, transfer it, and install the teams/leagues on your PlayStation 4.
- Format a USB stick (with free space) to FAT32 format.
- Download and extract the special option file to the USB stick (Do not move, rename or change any of the files).
- On your PS4, open Application Settings.
- Delete any PES 2019 Edit Data that is there. If you didn’t make any changes in your game, skip to Step 5.
- Start PES 2019. Go to Extras, then Edit.
- Select “Yes” on the pop-up message asking you to Create Edit Data. The game will show a progress bar as it creates the Edit Data.
- Next, go to the Import/Export menu screen.
- Select “Accept” and then choose the “Import Team” option.
- On the next screen, press the Square button to select all files. Select Next.
- On the Detailed Settings screen, select OK (Do not check off any boxes).
- You’ll have about a 15-minute wait for all of the teams to install.
- Once that has completed go to the Edit Menu screen to Save all changes.
- Next, go back to the Import/Export screen and select “Import Competition.”
- On the Detailed Settings screen select OK (Do not check off any boxes). Allow the files to update for your game.
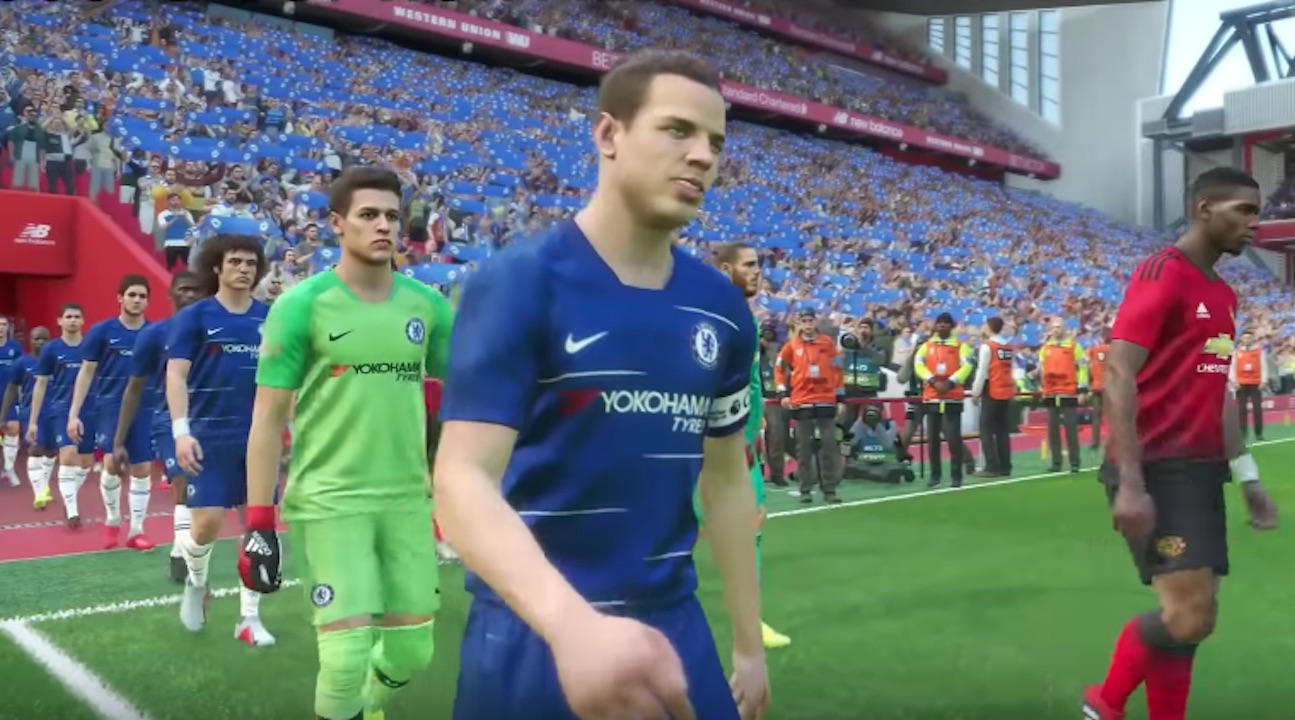
Check out the video below for a look at how to update the game and what it looks like after the update. It definitely brings a world of difference and keeps PES 2019 on a similar level with FIFA in terms of all it has to offer.
In all, this process will take up about 30 to 40 minutes of your time to complete. It also requires the necessary USB drive and downloading a file from your computer to the USB stick or drive. However, once you’ve done everything as outlined above you’ll have yourself a much-improved game with more realistic looks for all of the teams and in-game content. Enjoy!
Also, see our PES 2019 Data Pack 4 article for information about two new stadiums and updated players in the game.
Get more of the latest information about this game and others at our video game news page.